Sep 29, 2021 | Handmade Cards |

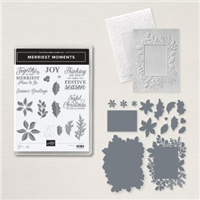
Stamps, Ink, Paper – Merriest Moments
Simple stamping with Stamps, Ink and Paper. And the Merriest Moments stamp set.
It wouldn’t be stamping if you weren’t using the product trio of stamps, ink and paper and sometimes that is all you need. These simple cards were created in very little time as they all followed the same basic design. As much as I love to add embellishments and create with different products, sometimes a SIP (stamps, ink, paper) card is all you need. Simply stamping is great if you need a lot of cards in a hurry or are feeling overwhelmed by options.
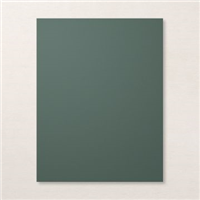
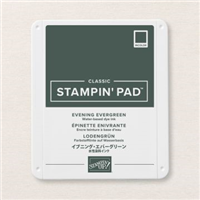
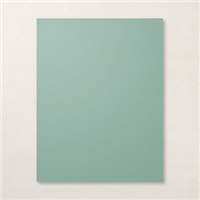
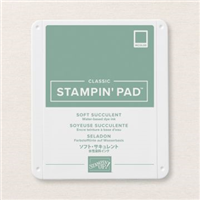
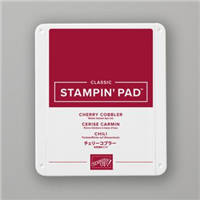
I used just three colours of ink on Basic White card stock to make the background for these cards – Evening Evergreen, Soft Succulent and Cherry Cobbler. I used the same three colours of card stock to complete the cards. One quick way to stamp some quick cards or to get your stamping mojo going it so limit the number of colours you have in front of you. Feeling stuck? Go monochrome by using just one colour of card stock and ink with white card stock. I love black and white cards.
To create the full backgrounds for these cards, I stamped the largest image first and worked down in size. Always stamp off the edge of the card stock and try to work in odd numbers. I started with five poinsettia on each piece and then did the same with the other images. To complete the cards quickly, I used only one colour per image so no cleaning was required until the end. After stamping the main images, I filled in some of the white space with the splatter stamp which is also in the set.
These cards were completed with just the stamp set although I did cheat a little and used the frame die from the Merriest Moments Bundle for two of the greetings. If your budget allows, I would recommend the bundle because with the stamp set, embossing folder and dies, there are so many stamping possibilities.

Last chance to earn free products during Sale-a-bration. It all ends on September 30th, 2021. Receive a free product for every $60 you spend before tax and shipping. Click on the catalogue cover to view the brochure or visit my online store.
Also during Sale-a-bration, choose a free bundle with the purchase of a starter kit. For only $135, you receive $165 in your choice of products plus free shipping and GST. And until September 30th, you can choose from twelve different bundle options free. Check out this page for all the details.

View the Current Catalogues

Sep 27, 2021 | Handmade Cards |

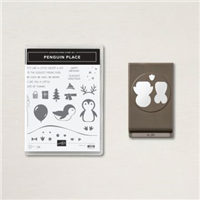
Penguin Place Punch and Stamp Set Bundle
Penguin Place is a new bundle from the July to December mini holiday catalogue that includes a stamp set and punch. And it’s so stinking cute!
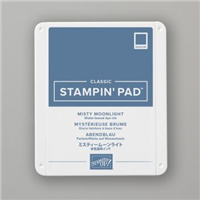
And during Sale-a-bration, you can choose the coordinating Penguin Playmates designer series paper free with a $60 order pre-tax and shipping. The colours included in the paper are Balmy Blue, Basic Black, Calypso Coral, Fresh Freesia, Just Jade, Misty Moonlight and Soft Sea Foam. And the punch is sized to match some of the penguins printed on the paper so they can easily be cut out.
Although some of the images in the set are winter themed, there are also lots of images that can be used year round. Think how cute birthday cards made with the gift box and balloon will be.

Penguin Place Inside
So, what’s a lottle?
It’s like a little except a lot.

Penguin Place
I accessorized the penguin with a hat and scarf included in the stamp set which I cut out with Paper Snips. The Penguin Place bundle include the punch which has three pieces – the bottom body which I punched in black, the top body layer in white and the feet. And the stamp set which has the eyes and the beak as well as several other accessories.

The 12 Weeks of Christmas starts on Wednesday! Sign up today.
Every week for 12 weeks, you will receive an email with a fantastic holiday project. And it’s free. The projects will be available exclusively to those on my mailing list so if you are not currently receiving my newsletter, sign up now so you don’t miss out. To join my mailing list, use this link or the sign up box in the upper right corner. If you are currently receiving blog posts by email, this service will be ending shortly so join my mailing list to stay up to date.
Sale-a-bration ends in just three days. Until September 30th, you will receive a free product for every $60 you spend before tax and shipping. Click on the catalogue cover to view the brochure or visit my online store to see the available products. Please note that the Be Dazzling paper is sold out.
Also during Sale-a-bration, choose a free bundle from the list below with the purchase of a starter kit. For only $135, you receive $165 in your choice of products plus free shipping and GST. And until September 30th, you can choose from twelve different bundle options free.

View the Current Catalogues

Sep 22, 2021 | Handmade Cards |

Gorgeous Leaves Stamp Set and Intricate Leave Dies
Celebrate Autumn with Gorgeous Leaves
Today is the first day of fall and I can’t believe that summer has ended for another year. Where does time go? Before we know it, winter and the cold weather will be here. The changing season is a great reason though to celebrate with this Gorgeous Leaves Bundle card
I think this stamp set with the Intricate Leaves Dies is absolutely stunning. And it can be used year round by changing up the colours . It also works so well for masculine cards.
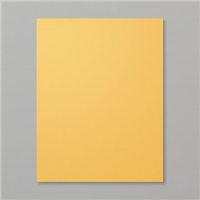
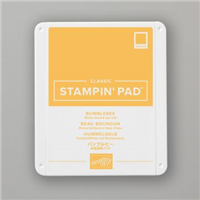
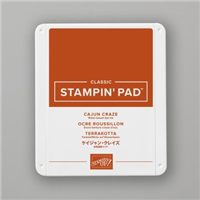
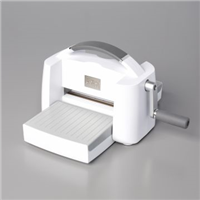
For this card, I combined Misty Moonlight, Bumblebee and Cajun Craze for the leaves and added lots of gold embellishments. Using the Stampin’ Cut & Emboss Machine, I cut out two different shaped leaves. One in Bumblebee and one in Gold Foil to add some depth to the card.
12 Weeks of Christmas starts in just one week, keep reading to sign up for these free, exclusive projects.

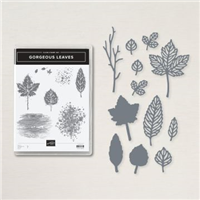
Gorgeous Leaves Bundle
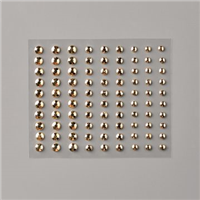
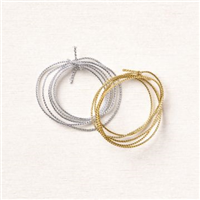
After stamping and assembling the card except for the greeting, I added some gold embellishments. In addition to the Gold Foil paper, I added gold trim from the Simply Elegant Trim pack and Gilded Gems. To add a circle of trim, I wrap the cording around my fingers three times using a mini glue dot or two to hold the circle together before cutting from the spool. I then add the trim to the card adhering with the same glue dots and adding more if needed.

The 12 Weeks of Christmas is starting on September 29th!
Every week for 12 weeks, you will receive an email with a fantastic holiday project that you can create. And it is completely free.The projects will be available exclusively to those on my mailing list so if you are not on my mailing list, sign up today so you don’t miss out. To join my mailing list, use this link or the sign up box in the upper right corner.
Time is running out to Sale-a-brate for 2021. Check out all the products available free with a $60 order pre-tax and shipping only until September 30th. Click on the catalogue cover to view the brochure or visit my online store to see the choices. Please note that the Be Dazzling paper is sold out.

Aug 28, 2021 | Handmade Cards |

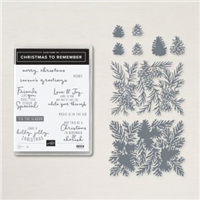
Christmas to Remember Bundle
Pick Your Christmas to Remember – Traditional, Elegant or Modern
When I purchased the Christmas to Remember Bundle, I was worried that all of my cards would look the same. The bundle includes the Christmas Pines dies and the Christmas to Remember stamp set with nine greetings of all sizes. Assembling the card is pretty straight forward, layer the pines and and add the pine cones. And then complete the card with your choice of greeting. But that doesn’t leave a lot of room to create unique cards.
I realized that the variety from this stamp set needs to come from the colors and greetings that I picked. I decided to go for three different looks today – traditional, elegant and modern. Please leave a comment and let me know which card is your favourite.
And if you love this bundle as much as I do, it can be your free pick with the purchase of a starter kit. The kit includes $165 in your choice of products plus free shipping and GST included. And until September 30th, you can choose from twelve different bundle options free.


Traditional Christmas Card
This is my traditional version – red and green. I paired Cherry Cobbler ink for the greeting with Soft Succulent and Evening Evergreen card stock for the pines. The pine cones are Crumb Cake and Soft Suede.
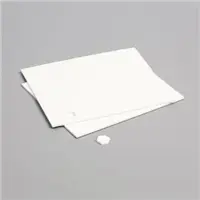
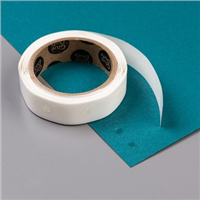
I recommend that you use the adhesive sheets with these dies as assembling the card is so much easier. Trust me.

Elegant Christmas Card
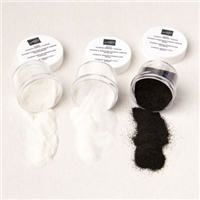
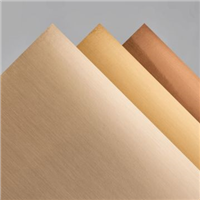
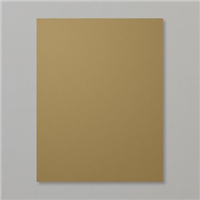
This is my elegant version. I kept it simple with white and gold. And an elegant card calls for embossing so I used white embossing powder on the brushed metallic paper.

On the left is the Gold Foil and on the right is the gold paper from the Brushed Metallic pack.
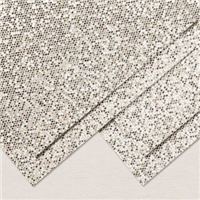
The brushed metallic paper was a better match for the Be Dazzling 6″ x 6″ Specialty Paper. The Be Dazzling paper is absolutely stunning and only available until September 30th or while supplies last. And the best thing about this paper is that it is free with a $60 order during Sale-a-bration.

Christmas Card Modern
The trend towards modern Christmas trees continues this year. I wanted to create a card to reflect a white tree with bright ornaments.
For this card, I partnered Melon Mambo with Polished Pink, Bermuda Bay with Coastal Cabana and Gorgeous Grape with Highland Heather. I used the same white embossing power for three tiny “merry” greeting to match the pine cones.
I like the three distinct looks created with this bundle and can picture cutting up the pines into smaller pieces for additional creative options. Can you believe it is less than four months to Christmas?
View the Current Catalogues

Jul 7, 2021 | Handmade Cards |
Color & Contour Card with Fresh Freesia
This Color & Contour card in Fresh Freesia ended up being so simple to stamp and put together.
The new catalogue bundle that I used for this card – the Color & Contour stamp set and Scalloped Contour Dies – includes 13 stamps as well as 8 dies and is quickly becoming a favourite that I reach for often.
To make this card, I stamped three flowers and three buds onto Fluid 100 Watercolor Paper using Black StazOn ink. Then I added colour to the flowers using the Fresh Freesia and Soft Succulent refills and the Water Painters. To achieve a watercolor look, leave some white showing when adding colour.
After cutting out the flowers with a die and the smaller buds free hand with scissors, I created the rest of the card front.
I coloured the stamped leaves in Soft Succulent again using the Water Painters and added the splatter image to fill in some of the white space on the card. I kept everything in threes – the flowers, buds, splatters and leaves.
After adding the Basic Back scallop piece to the Whisper White card, I adhered the cut out images with dimensionals.
 Color & Contour Bundle $69.25 #158356


Color & Contour Stamp Set with Scalloped Contours DIes
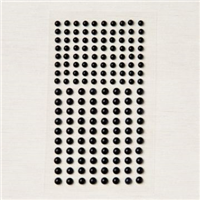
After assembling the card, I added a few Matte Black Dots for extra appeal.
And can we talk about the greetings in this stamp set for just a minute? I love the mixed fonts and the slightly larger size of the greetings and how amazing they look.
Now that I have the layout of this card completed, it will be easy to make again and again in other colors. I plan to start with another of my favourite new In Colors, Pale Papaya and continue on from there.


Click to view the catalogue

Jul 6, 2021 | Handmade Cards, Promotions |

Sweet As A Peach Stamps and Peach Dies
Save on the You’re A Peach designer series paper plus 8 other patterned papers right now. These select packages of designer series paper are on sale until August 2nd. See all the sale priced packages here.
The Sweet As A Peach stamp set and Peach dies coordinate with the paper to make fun and colourful card in just a few minutes. Plus if you buy the bundle, you save 10%.
The focus of this card is the layered paper. I limited the stamping to the greeting and an peach accent. For ink, I used only Calypso Coral and Pear Pizzazz. The two created a really vibrant combination.
 Sweet As A Peach Bundle $49.50 #155823

You’re A Peach Designer Series Paper
Here are the cut dimensions of the paper and card stock:
- Whisper White Base – 8-1/2″ x 5-1/2″ folded in half
- Peaches paper – 2-3/4″ x 5-1/4″
- Pear Pizzazz brushstroke paper – 2-1/4″ x 4-3/4″
- Calypso Coral polka dot paper – 2-1/2″ x 4-1/4″
- Whisper White greeting – 1-1/2″ x 3″
- Whisper White scrap for die cut pieces

You’re A Peach Bundle
I adhered all the die cut pieces – the peach, leaves and banner greeting – with dimensionals. All of these dies are included in the bundle and the banner frame fits multiple greetings. Pairing the smaller font greeting with the larger greeting in different colours really makes the message stand out.

You’re A Peach Envelope Flap
To cover the flap of the envelope, cut a piece of designer series paper to 2-1/4″ x 6″. Adhere the paper to the envelope flap and then trim off the excess paper with scissors. I opted to use the same Pear Pizzazz brushstroke design from the card.

The following designer series paper are also included in the sale:

Click to view the catalogue