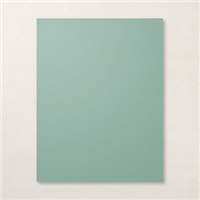
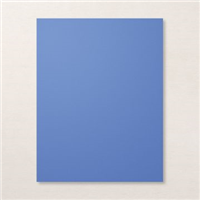
Summer Splash is my favorite new In Color. Not quite green, not quite blue, it works with all the colors!
Another great thing about the Spotlight on Nature Bundle is how it encourages creativity. Because the stamps and dies work so well together, you can experiment with different techniques and styles. Try watercoloring your stamped images for a soft, artistic look, or use embossing powders to add some shimmer and shine. Mix and match the stamps and dies to create unique, one-of-a-kind designs that reflect your personal style. This card uses the three images from the stamp set and cuts them out with the fantastic circle dies.
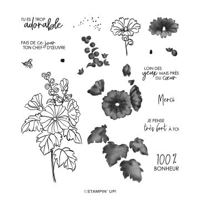
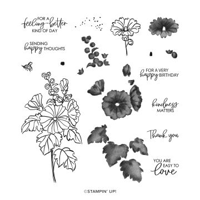
The flower, leaves, and butterfly in this set, are crafted to capture nature at it’s best. The intricate details on each stamp are fantastic. You can see the delicate veins on the leaves, the subtle curves of the petals, and the intricate patterns on the butterflies’ wings. You can bring your cards and projects to life with these stamps.
Measurements:
Summer Splash 8-1/2″ x 5-1/2″ folded for the card base
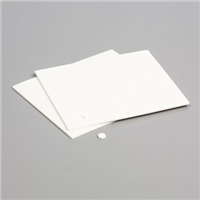
Basic White 5-1/4″ x 4″, 7/8” x 4” for the greeting and squares of 2-3/4″, 3″ and 3-1/4″ for the three circles
DSP5-1/8” x 3-7/8”
To make the card:
Fold the Summer Splash card in half and adhere the Basic White and Designer Series Paper layers to the card front.
Onto three squares of Basic White card stock large stamp the flower in Petunia Pop, the leaves in Shy Shamrock and the butterfly in Summer Splash working from the largest to smallest squares.
Cut out each image with a circle die sized to fit as shown on the photo of the card.
Stamp the greeting on the strip of Basic White card stock and adhere to the card front.
Add the circle with leaves to the card front followed by the flowers and then the butterfly. Use Dimensionals to attach the last two circles.
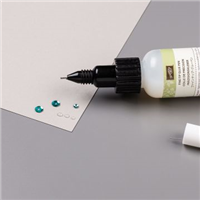
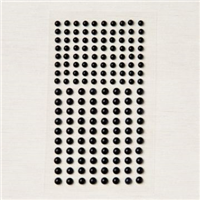
To finish the card, add a Resin Dot in the same color as the ink to each circle.
I am beyond thrilled to share another card made with the Spotlight on Nature Stamp Set and Dies Bundle from Stampin’ Up! today. This bundle has quickly become my go-to for creating beautiful, nature-inspired cards that really stand out. If you love all things crafty and have a soft spot for nature, then this bundle is going to rock your creative world.
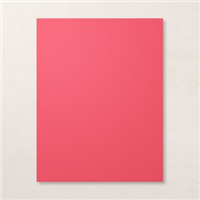
One of the things I love most about this bundle is its versatility. It’s perfect for any season or occasion. In spring, you can create vibrant cards full of blooming flowers and fluttering butterflies. For summer, think bright, bold colors and lush greenery. In fall, you can use warm, rich tones to capture the essence of the changing leaves. And for winter, why not create a serene scene with leaves? The possibilities are endless. Today’s card features Petunia Pop and the flower image and I think definitely says summer.
Measurements:
Petunia Pop 8-1/2″ x 5-1/2″ folded for the card base
Basic White 5-1/4″ x 4″, 3-3/4″ and 3-1/4″ squares for the dies, scrap for the stamped flower
DSP 5-1/4″ x 2″
To make the card:
Fold the Petunia Pop card in half and then adhere the Basic White and DSP layers.
With Petunia Pop ink, stamp the flower onto the scrap of Basic White card stock and then cut out with scissors.
Cut out the two circles using Basic White card stock and the corresponding dies. Stamp the greeting onto the smaller circle with Petunia Pop ink.
Adhere the first circle to the card with adhesive and the second circle to the card with Dimensionals.
Add the flower to the card with additional Dimensionals.
To finish the card, add three Petunia Pop Resin Dots as shown.
I am absolutely loving this new bundle from Stampin’ Up!
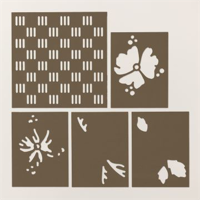
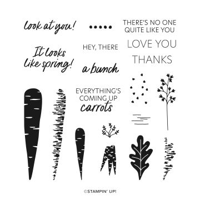
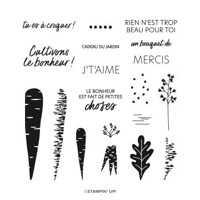
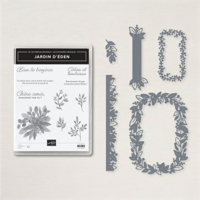
First, the stamps. The intricate details on the flowers, leaves, and butterflies are stunning. Each of these stamps truly puts the spotlight on nature, making it easy to create cards that are drop-dead gorgeous. Plus there are two greeting and a couple of texture images. And the best part? These stamps layer beautifully, giving your projects a simple dimensional look.
But the real star of the show is the dies. Oh, my! The dies complement the stamps, perfectly sized to fit the stamped images. But they are so much more. The dies include 12 circles in different sizes and with awesome border designs. That means that these dies will work with almost every stamp set you own.
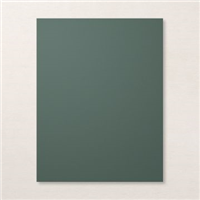
This Spotlight on Nature card features Peach Pie paper and inks, one of five new 2024-2026 In Colors introduced in the new Annual Catalogue. A clean and simple monochromatic card that came together easily.
Measurements:
Peach Pie 8-1/2″ x 5-1/2″ folded for the card base, 5/8″ x 2″ for the greeting Basic White 5-1/4″ x 4″, 3-3/4″ square for the die DSP 5-1/8″ x 3- 7/8″
To make the card:
Fold the Peach Pie card in half and then adhere the Basic White and DSP layers.
With Peach Pie ink, stamp the leaves onto the square of Basic White card stock and then cut out with the circle die. Add to the card with Dimensionals.
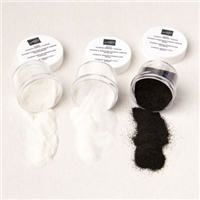
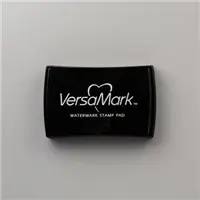
Stamp the greeting onto the strip of Peach Pie card stock with VersaMark ink. Cover with white embossing powder and shake off the excess. Emboss with the heat tool until all the powder has melted. Attach to the card with additional Dimensionals.
To finish the card, add two Peach Pie Resin Dots as shown.
So, what are you waiting for? The Spotlight on Nature Stamp Set and Dies Bundle is my top pick! Grab yours today and start crafting simple and beautiful cards.
Sale-A-Bration 2023 is coming to a close, and there are just two days left to take advantage of this fantastic promotion.
I don’t want you to miss out on earning exclusive free items with every $60 order. And remember that many of the items are limited edition products only available during this time.
Head over to my online store to take advantage of all the amazing freebies that come with Sale-A-Bration. You won’t regret it!
Level 1: Free with a $60 order pre-tax and shipping Level 2: Free with a $120 order pre-tax and shipping
SALE-A-BRATION ENDS IN:
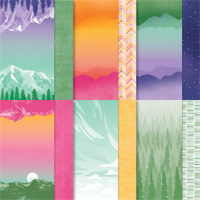
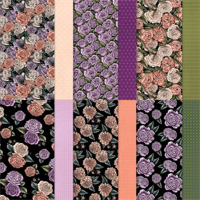
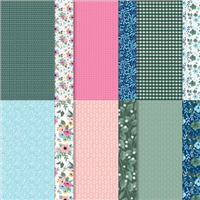
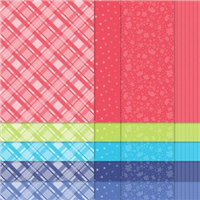
One of my favourite Sale-a-bration products is the Favored Flowers 12″x 12″ Designer Series Paper. This paper has bold flowers in vibrant colours on one side and more subtle patterns on the other side. It’s perfect for simple stamping and cardmaking. Pair it with the Fragrant Flowers Bundle for lots more creative options. You can earn multiple items during Sale-a-bration but I recommend this paper as one of them.
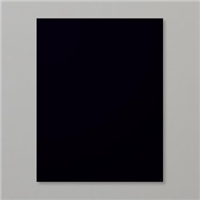
Basic Black – 8-1/2″ x 5-1/2″ folded in half for the card
Calypso Coral 5-1/4″ x 4″
Basic Black 4-3/4″ x 3-1/2″
Petal Pink 4-5/8″ x 3-3/8″
Favored Flowers Paper 4-1/2″ x 3-1/4″
The Stampin’ Up! Starter Kit is a fantastic deal but it ends today!
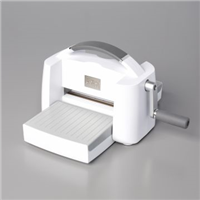
There are three amazing Starter Kit options though February 28th. All fantastic options but I love the Boho Blue Mini Machine:
Option #1 – For $175, get the exclusive Boho Blue Mini Stampin’ Cut & Emboss Machine plus $225 in your choice of products
Option #2 – For $175, get the original white Mini Stampin’ Cut & Emboss Machine plus $225 in your choice of products
Option #3 – for $135, your choice of $225 in products
Buy a Starter Kit and receive a discount on your future orders, be the first to see new products and join an amazing community of demonstrators. Learn more about the kit here.
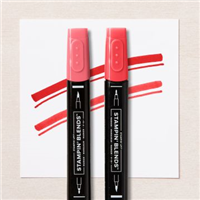
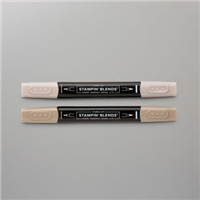
Sweet Sorbet just might be my favourite Christmas colour this year. The colour is so vibrant especially when heat embossed with white powder for the flowers. And I added a little of the same Sweet Sorbet to the paper by colouring the berries with a Blends Marker.
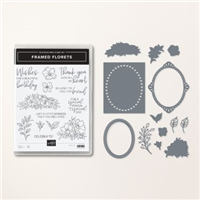
For this card, I used products from the Fitting Florets Collection which includes a stamp set and dies bundle from the upcoming Mini Catalogue as well as a couple of items that will only be available until January 4th. I can’t believe 2022 is almost over!
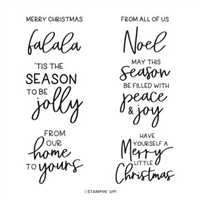
The Framed Florets Bundle has sentiments for birthday, thank you and thinking of you. If you add in the Framed & Festive set, all of your Christmas sentiments are covered too. Plus both sets work with the elegant frames and greens included with the dies. And for even more mix and match options, the Fitting Florets Designer Series Paper matches so with the dies and stamps.
Although the bundle will be available at least through April, the following exclusive products are only available while supplies last through January 4th:
Stampin’ Up! Canada is offering free shipping for one day only on Thursday (December 15th). Place an order of $100 or more before tax and the shipping is free. It’s a great time to stock up on cardstock and adhesives as well as purchase items from your wish list. Plus, don’t forget to check out the Last Chance List and Clearance Rack. Orders must be opened tomorrow and closed by 11:59 pm MT. Shop onlineor contact me to place an order.
Check out the dies on the Clearance Rack that coordinate with stamp sets from current catalogues at over 60% off:
Today is Big! Huge! Awesome! There is so much happening today and all month with SU! Here is everything you need to know. I’ve also included a Warm Welcome Bundle card and a link to the WCMD Video in case you missed it on Saturday.
One day only, Tuesday, October 4th, 2022. Today!
Free shipping on orders of $100 or more (before taxes).
Be sure to check out the bundles featured in the WCMD Video (link below). You can place your order online or email me.
Did you miss the free WCMD event on Saturday? SU! shared projects made with three bundles including Warm Welcome that I used for my card today. Plus, the creative process for designing a new collectiion was shared and the new collection is – Fitted Florets!
It’s time for one of the best promotions of the year – the Starter Kit Plus. During October, you can add additional products to the Starter Kit at no extra charge.
And it’s as easy as 1-2-3.
Choose $206 in current products. The choice is completely up to you.
Enjoy the advantages of being a SU! Demonstrator as long as you remain active including early release products, fun, exclusive project shares and being part of a great team.
Did you see the new Fitted Florets Collections in the WCMD Video? If you want to receive this new collection early, it can be included as part of your Starter Kit. Email me at darlene@dreamingaboutrubberstamps.com for the details, item # and pricing as well as with any questions. The Fitted Florets Collection will be available to everyone on November 1st.
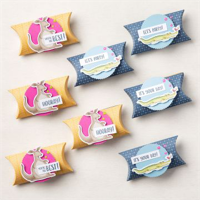
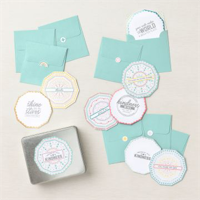
The Birthday Card Organizer Kit has everything you need to plan ahead and never forget another birthday again!
This kit comes with the supplies to make 12 birthday cards with matching envelopes that you can easily customize. And don’t forget the 8″ x 10″ (20.3 x 25.4 cm) yearly birthday organizer with sticker sentiments for perfect (and practical) personalization! You can keep track birthdays, then make and save cards in the cardholder for each month.
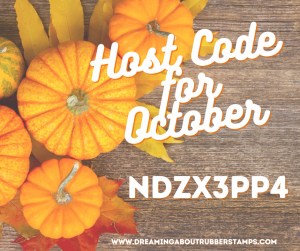
Please use Host Code NDZX3PP4 if your order is less than $200. If your order is over than $200, do not use the code as your order will receive Stampin’ Rewards of $20 or more.
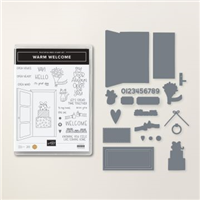
If you were able to see the WCMD Craft-Along live or have watched the video, you’ve seen the new Warm Welcome Bundle that I used for the card above.
This bundle will make people feel welcome and appreciated and it’s perfect for all occasions with the warm messages. You can use it to announce a big event, such as “Baby is on her way!” or a new home. I think what makes this set great are all the other images – two cups clinking, a bouquet of flowers, a row and shoes and maybe best of all a cat. And the little dies – a door knocker, door handle and tiny numbers to make the card special.
The door is the focal point but there are lots of greetings and other designs that fit inside or outside the doorway. Or create a closed door like I did. Let friends and family know that your door is always open, and say “Hello,” “Welcome,” “Yay!” and much more, with the cutest style!
Contct me by phone 780.472.8200 or 780.235.0455 cell
Current Catalogues
Click to view the catalogues.
Search by Category
Search the Archives
The Fine Print
This is the personal blog of Darlene McCallum, an Independent Demonstrator with Stampin’ Up Canada and I am responsible for its content. Stampin’ Up! does not endorse the contents of classes or use of services, or non-Stampin’ Up! products I may offer here.